We all need a lift right now, but luckily Mother Nature has the ultimate treat in store. Yes, spring is on the way – yay!
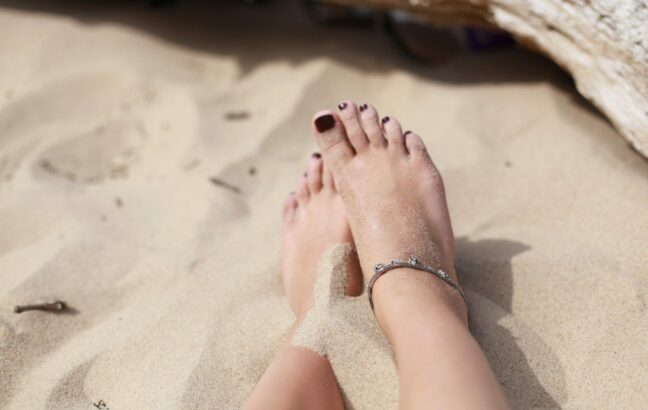
And with spring comes warmer weather, cute dresses and strappy sandals. Sigh. Oh, wait! What about our feet?
If the very thought of bringing your tootsies out of hibernation for everyone to see is so toe-curlingly awful, it makes you cringe with dread, don’t worry. You’re not alone!
How winter affects your feet
Winter can be really harsh on our feet so it’s no surprise if yours aren’t looking their best. It’s so easy to forget about them when they’re hidden away in thick tights, cosy socks and your favorite boots.
You give your hands lots of attention with hand cream and manicures because they’re visible all the time. But your feet also need regular TLC during the winter if you’re going to be ready to bare all in sandals in the spring.
If you wear your fleece-lined winter boots all day or thick tights with fluffy socks, your feet won’t be able to breathe properly. Chances are they are going to get too hot and will start to sweat. If it’s left to accumulate, that’s a breeding ground for all kinds of nasty fungal infections.
When you get home, it may be lovely and warm inside but if the central heating is cranked up high to keep out the cold, your poor feet can quickly become dry and cracked, and your toenails gradually get more brittle.
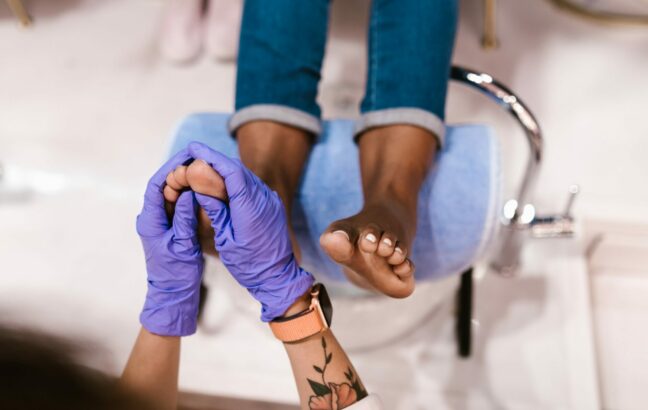
On top of all of this, none of us have been able to get our regular pedicures at the nail salon either. How we miss the salon…
But don’t panic! Just follow our five easy steps and you can still wear gorgeous sandals to the park, beach or mall (or wherever you’re allowed to go in lockdown).
And even if warm sunshine is a long way off where you live, it’s never too early to get your feet sandal-ready!
5 steps to sandal-ready feet
Just as you would if you were going to the salon, block out some time in your diary to pamper your feet. This is not a job that can be rushed. In fact, it’s the perfect excuse for some proper, dedicated me-time! You’ll need to earmark at least an hour, or even longer if you’re new to DIY pedicures.
1. Sit back and soak
If you have a foot spa at the back of the closet, now’s the time to drag it out and actually use it! But you don’t need one to have a really good pedicure at home: a large bowl or basin works just as well.
Fill it with warm water and add a cupful of Epsom salts or scented bath salts. The idea is that the salts will get to work to soften the hard skin on your feet while they’re soaking.
You could also add your favorite essential oils to make your feet smell heavenly. Soak your feet for at least 10 minutes – or longer if you want to – but you will probably need to add more warm water.
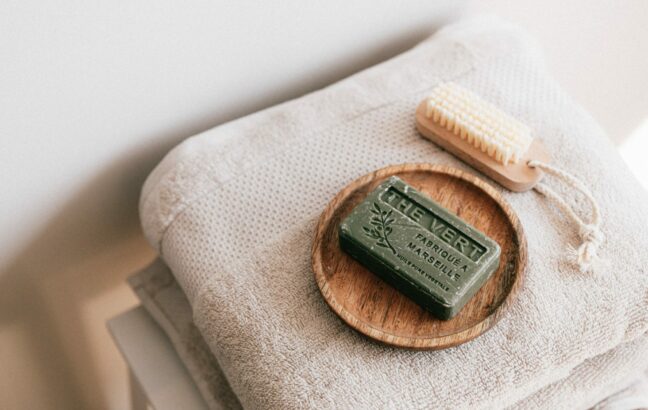
2. Slough away dead skin
After the soak, towel off your feet but leave them slightly damp for the next step. Using a foot file or pumice stone, gently scrub over any calluses and hard skin.
Remember that sandals will expose most parts of your feet to view, so pay careful attention to the heels and balls where the skin can be cracked and rough.
Keep scrubbing until the skin feels smooth. But don’t get too carried away with this step as you could make your feet sore!
3. File your toenails
It can be tricky to cut toenails correctly so take your time. Cut the length of your toenails straight across with proper nail clippers. Try to get all the toenails as even as possible.
Then, use a nail file to get the edges of your toenails absolutely perfect. Pay special attention to the corners and make sure there are no jagged edges that could irritate the skin around your toes.
Your cuticles do the important job of protecting the nail bed from bacteria. You could gently push them back with an orange stick, but it’s best not to try to cut or trim them yourself. Leave them well alone!
4. Massage your feet
Most people say their favorite part of going to a salon for a pedicure is the foot massage, so now’s the time to indulge in some real relaxation.
You can take as long as you like with this step because you’re aiming to deeply massage your toes and feet, and even your calves.
Choose a deliciously scented foot lotion or cream and slowly rub it in to every part of your feet. This massage should feel great and your feet will be moisturized and smell amazing!
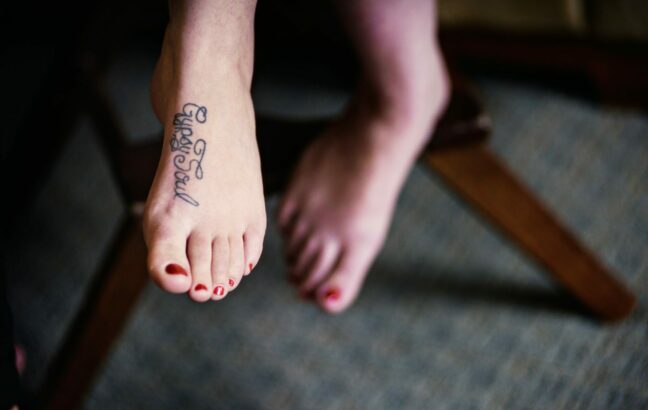
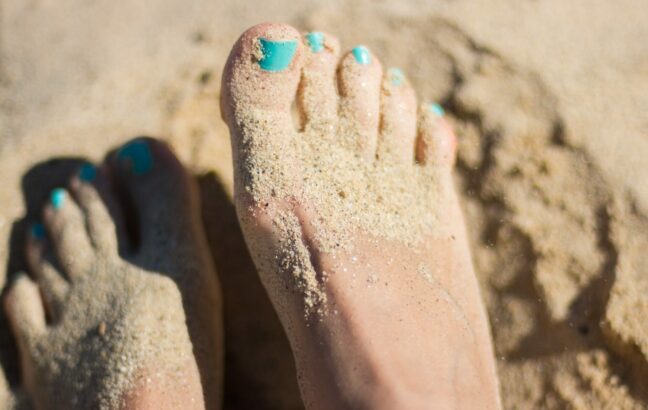
5. Add some nail color
At last, you can add a pop of color to your feet. Separate out your toes using toe separators and add a base coat first.
Next, apply a thin coat of your favorite nail polish and wait a few minutes for it to dry. Then add a second coat. Finally, add a top coat to make sure the finish lasts as long as possible.
Now, as soon as there’s some warm sunshine, you’re good to go to show off those silky-smooth feet in your gorgeous sandals!